Start here… with creating your website ♥
Hi there :)
Welcome to this e-course! Excited that you are here and starting on this journey.
Starting to create your own website is exciting, but it can be overwhelming too!
There is lots to learn, but just take it easy, step by step.
We promise you that things you may find complicated at the start
will be second nature very soon!
If you invest a little bit of time now you’ll give yourself the skills you need tocreate your own website and grow & blossom your business.
And what’s more exciting than that? Creating your dream life and doing what you love every day?
If you have any questions please contact us straight away through support in the menu above :)
In this part of the classroom we’ll give you the overview of the different parts of your website. By going through this class here, you’ll get a very solid understanding of what the different bits of your website are, and where & how you can make them the way you’d like to have them.
Please take a bit of time to go through what we share here, it will make your website designer life a lot easier!
Let’s create some website magic!
Divi, WordPress and a Child theme??
Yay you have a website pack set -up! We’ve made sure it’s got all you’ll need and the latest & best technology for creating websites with joy and ease. But what are all those things actually, what is WordPress, what is Divi, and what is the Dawn Theme?
Let’s make that clear to you, because it will be easier to work with your site if you understand better what you have :)
The basis of your website is WordPress, a system that allows you to create pages and posts yourself. The WordPress system also manages your menu content for you.
The Divi Theme is another layer of functionality that allows you to use a Visual Page Builder, insert modules such as text, an image, email optin and make site wide changes for fonts and colours.
Our Dawn Theme is a Divi Child Theme – a special design layer for your website. The Divi theme offers amazing customisation possibilities, you can create almost anything, and that is exactly the problem also :)
It’s overwhelming and a lot of work to make all the settings to give all the modules and content the same consistent look.
This is where our Child Theme comes in. We have created a consistent design for your site, and all the modules have the same look out of the box that you can futher adapt and customize.
Moreover, we have created dummy content; some pages, a menu, some blog posts. Our Dawn Library Modules also have dummy content which means you immediately see what they look like when you add them to your pages.
This means you don’t start with a blank slate, there is a menu, there ares some pages and you can immediately see what you have and start replacing this content with your own.
2. Visual website tour – what’s what :)
The images below graphically explain the different components of a website.
The annotations are numbered, and underneath each image you can find info and links to where that part of website creation is explained in the classroom.
Let’s go on a visual tour :)

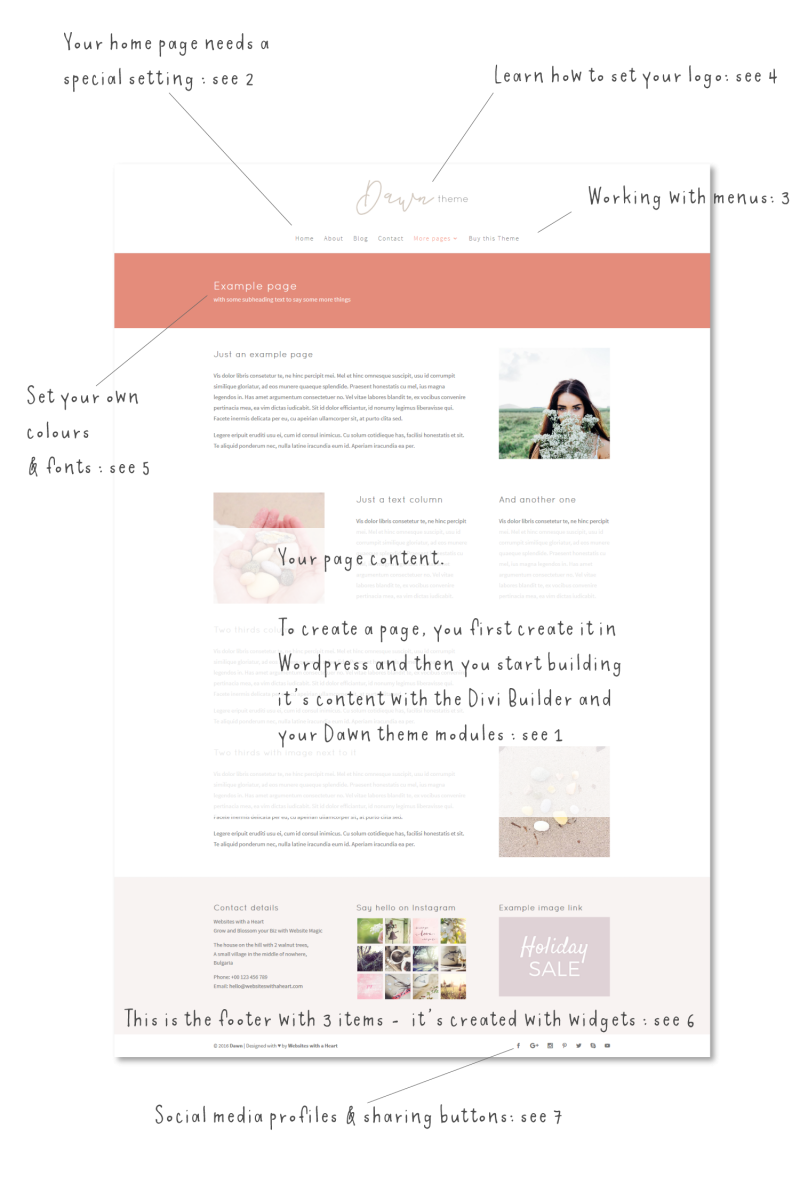
1: creating page content
Creating content happens by first creating pages in WordPress , and then building the page content with the Divi Builder and your Theme modules. You can start creating a page from scratch or start with an existing layout.
To learn the basics of wordpress and how to create pages in WordPress, see The basics of WordPress class.
Go to the Divi Builder class to learn how to work with the Divi Builder
To learn how to work with your the Theme Modules and layouts go to Creating your Content with your Child Theme
2: special setting for homepage
Your homepage is a special page, it is where your visitors always go first when they visit your website. To set a page you have created as your homepage, you’ll need to make a special setting. Here we explain how that is done.
3: Your menu
Learn how to set up your menu.
4 & 5: learn how to set your logo, fonts & colours
Go to the Your site’s logo and Branding Class
6: Your footer
Learn how to create a footer for your website.
7: Social Media
Learn how to create social media sharing buttons and social media profile icons in the Social Media class.
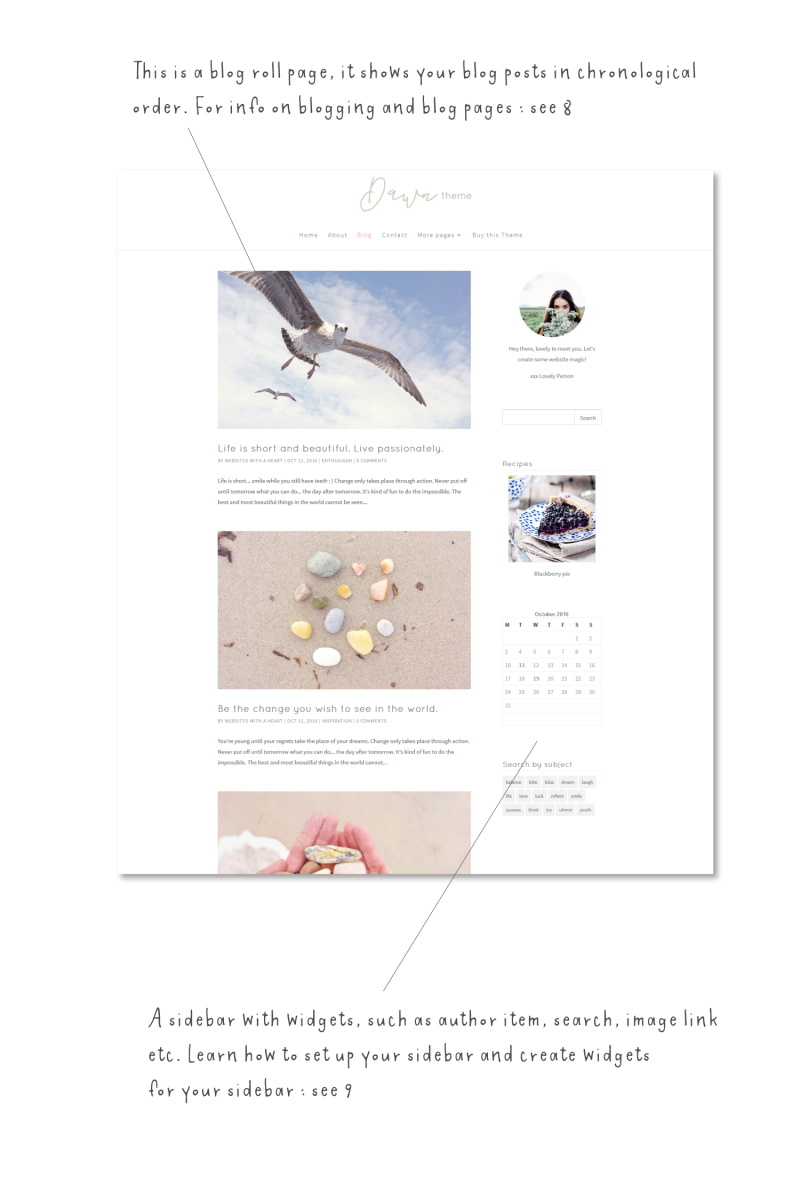
8: Blogging and blog pages
Your blog posts are something different than pages. Also your blog roll page, often called “Blog” or “News” or “Articles” in the menu, is a special page that needs a special setting. Learn all about it in our Blogging Class.
9: Sidebars
How to create sidebars is explained in our sidebars, footers and widgets class.

10: Working with images
Cropping and resizing images are crucial skills to make your website look great! We show you how it’s done in our Working with Images class.
11: Creating your page content
Just repeating here what we showed you in the first image also: Creating content happens by first creating pages in WordPress , and then building the page content with the Divi Builder and your Theme modules. You can start creating a page from scratch or start with an existing layout.
To learn the basics of wordpress and how to create pages in WordPress, see The basics of WordPress class.
Go to the Divi Builder class to learn how to work with the Divi Builder
To learn how to work with your the Theme Modules and layouts go to Creating your Content with your Child Theme
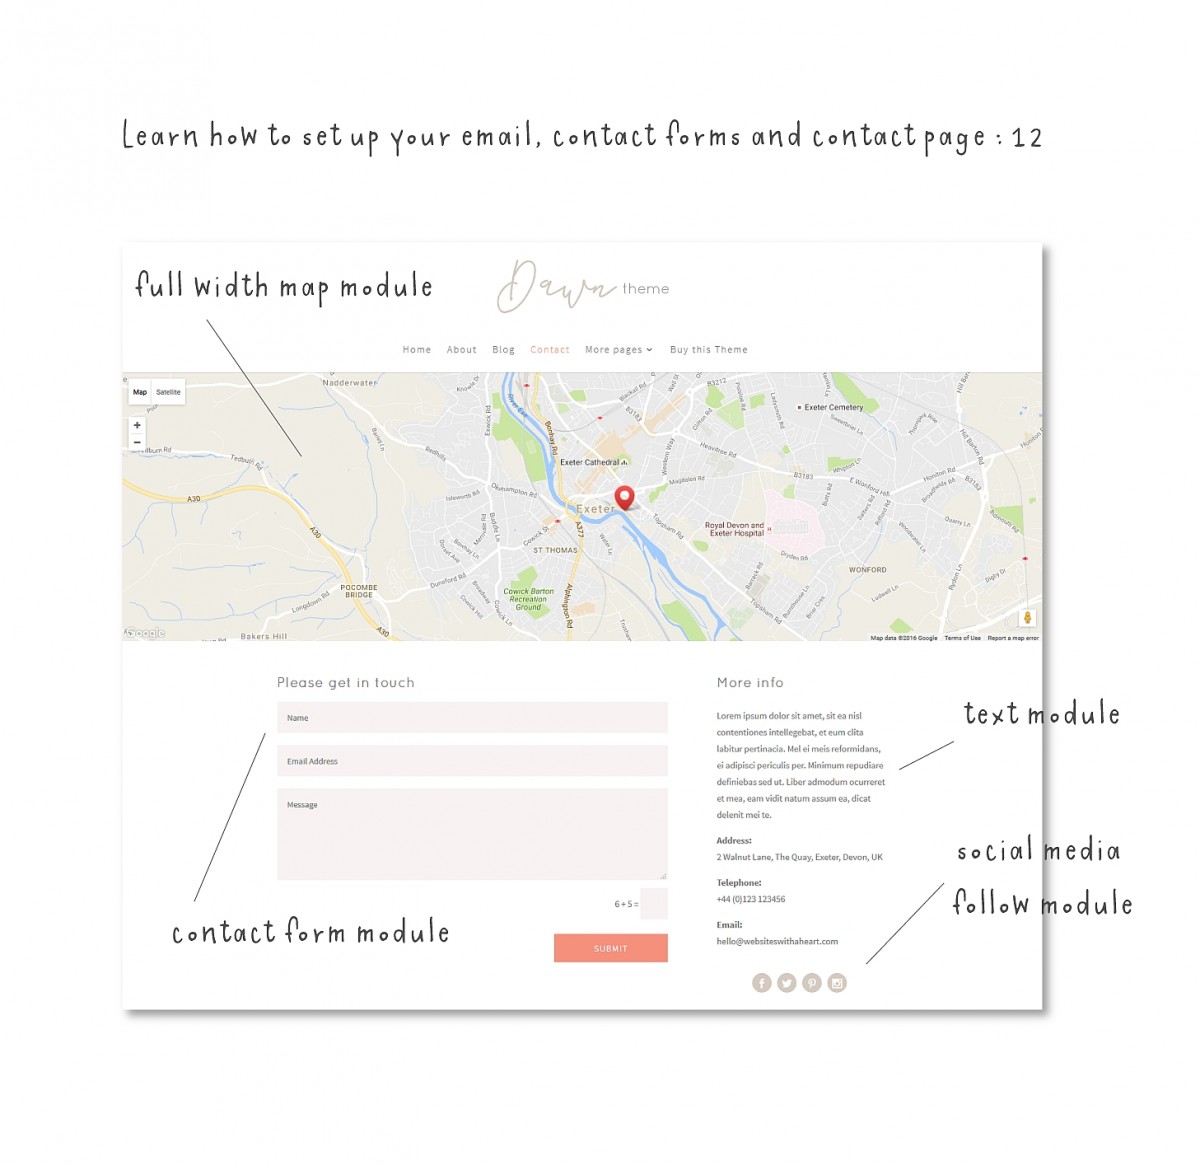
12: Contact page & contact forms
Learn how to set up your contact form and contact page in the Email & Contact Form class.
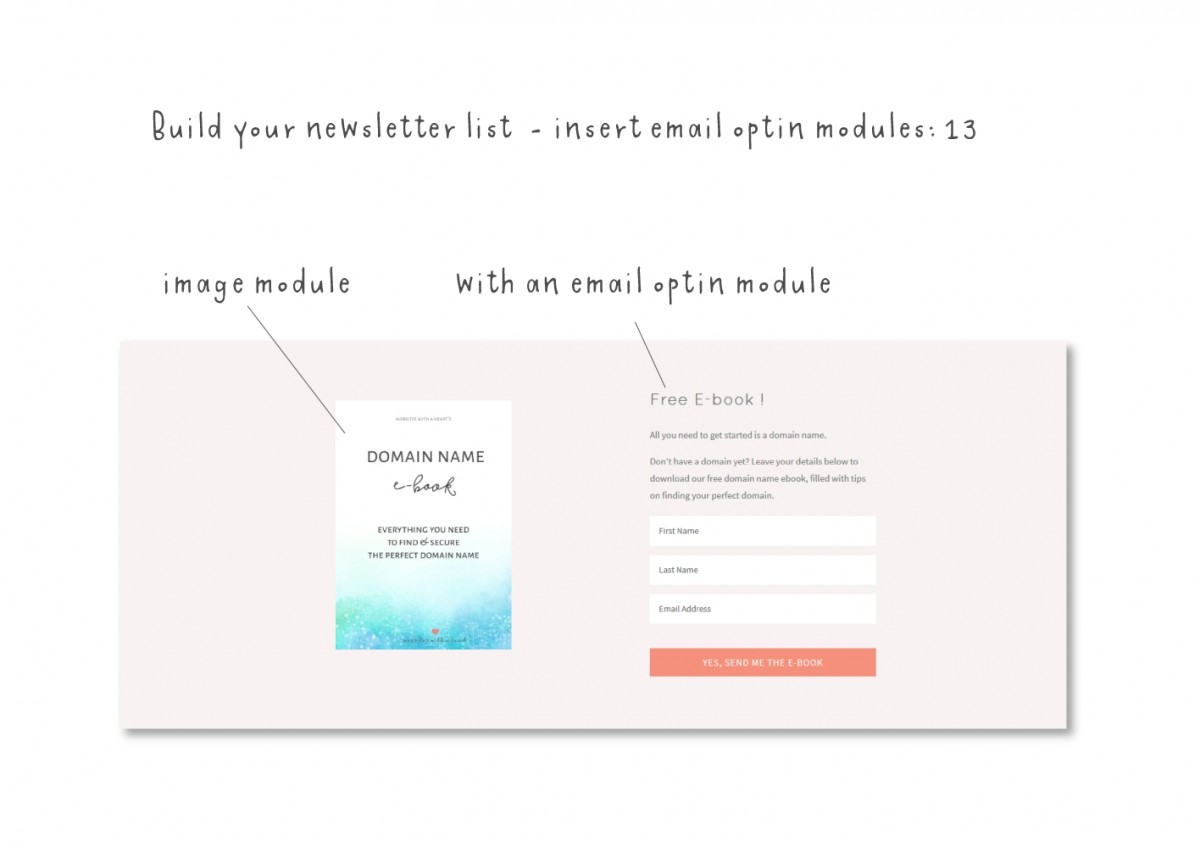
13: Newsletter subscription & email optins
They are the same thing actually :) Learn how to set them up in our class here.
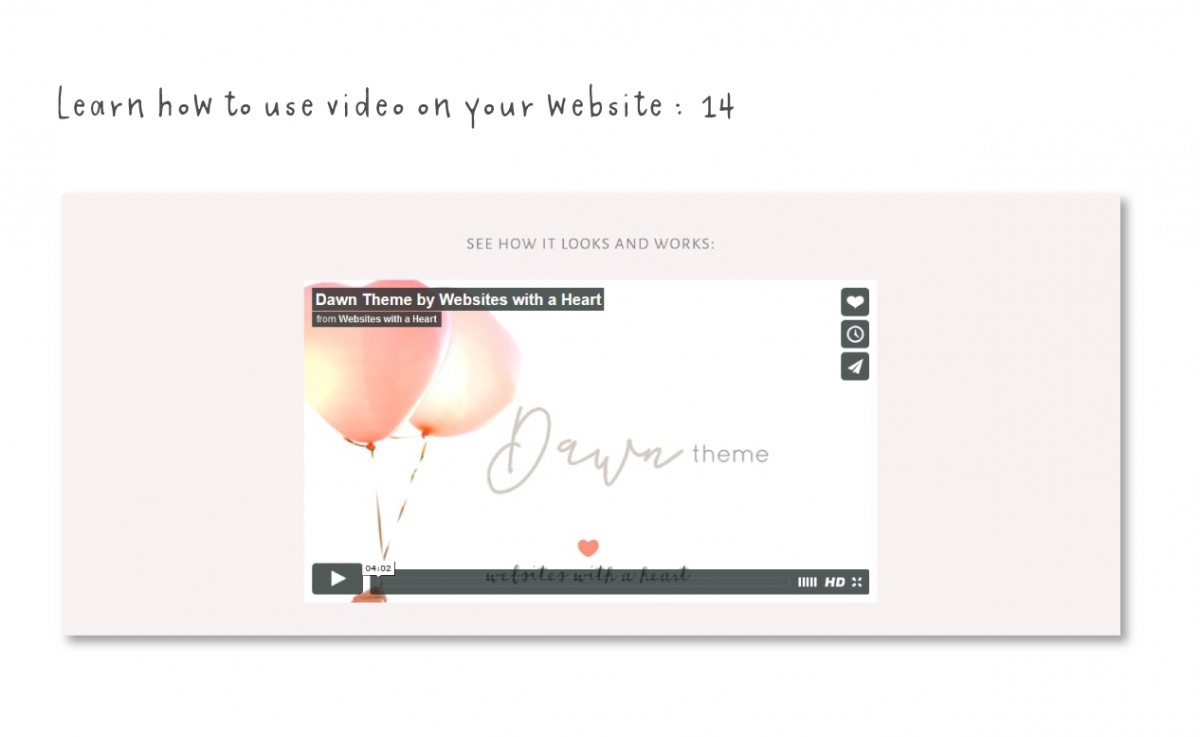
14: integrating videos
Videos are best hosted elsewhere and then embedded in your website from there. Learn all about it in our Video Class.
Explorer website tour
In this guided website tour we will take you by the hand and walk you through the different places of your website, so that you’ll familiarize yourself with your new online home.
Follow along and explore with us :)
It’s easiest if you print off this tour and use it as your guidebook. You can download it as a PDF for printing through the button below. If you’d rather not print, open the toggle below to see the tour!

Open this toggle to see the Website Explorer Tour (same as print doc)
You’ll see the dummy content that we’ve set up for you :)
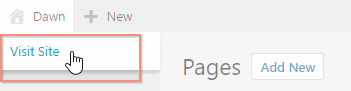
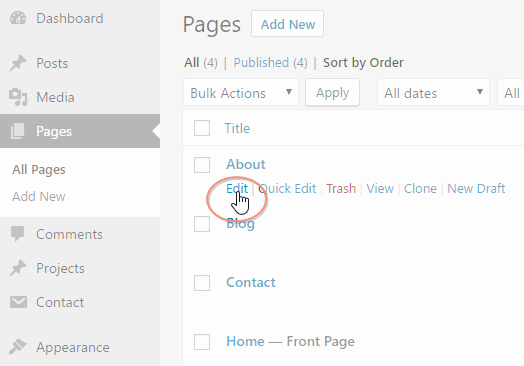
There is a menu with a few items in it, click on one of the pages, for example “contact”
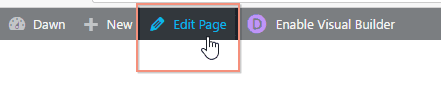
Click on “edit page” – you are now in the backend of this page. Notice the different modules, the fullwidth map module, and underneath the contact form module, and next to that a text module with a social follow module underneath.
Notice the page title at the top, the publish button on the right and the possibilty to change the status of the page from published to draft:
Now go to Pages > All Pages on the left, and find the contact page there also. Now find the “About” page, and click “edit page” now you are in the back end of another page :) notice the modules in the back end builder.
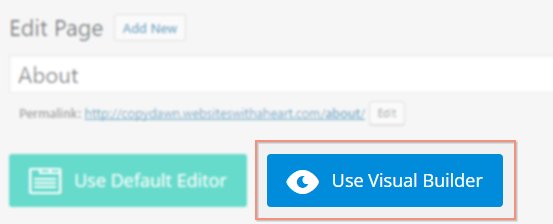
Go to Visual Builder by clicking the Visual Builder button. Notice the same modules but now in the Front end of your website.
Exit the visual builder by clicking the link button at the top “Exit Visual Builder”.

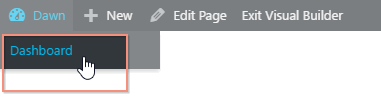
Go to your menu at the top. Notice the order of the items. Now go to your dashboard again by opening the drop down in the top left and clicking dashboard.
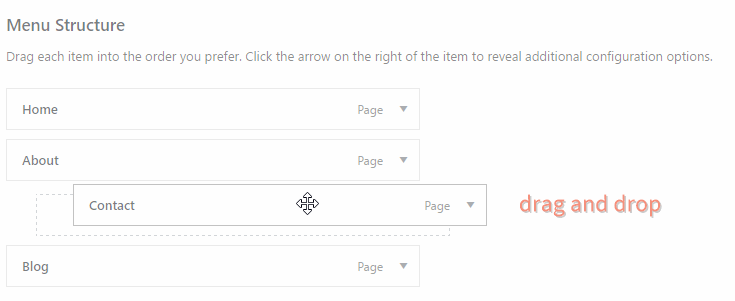
Go to Appearance > Menus (control + click to open in a new window) and notice the menu there.

Try changing the order of your menu items by dragging and dropping them, and click save and see the changes in the front end of your website, by refreshing the page (press F5) that you still had open in the other tab.
Now go to your blog roll, click on blog in the menu. Scroll down and notice the blog posts in chronological order.
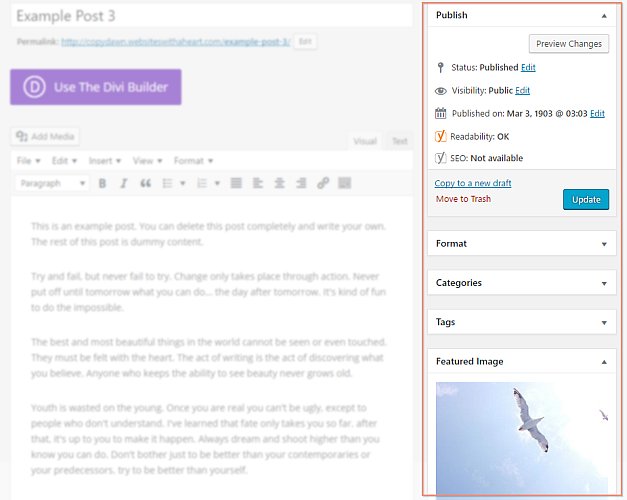
Now click on a post. See how it looks now, with option to leave comments. Go to the admin bar at the top and click “edit post”.

Now you are in the back end of the post. Posts are different from pages. Notice the extra options for blog posts (on the right-hand side of your screen); publishing date, tags, categories, featured image.
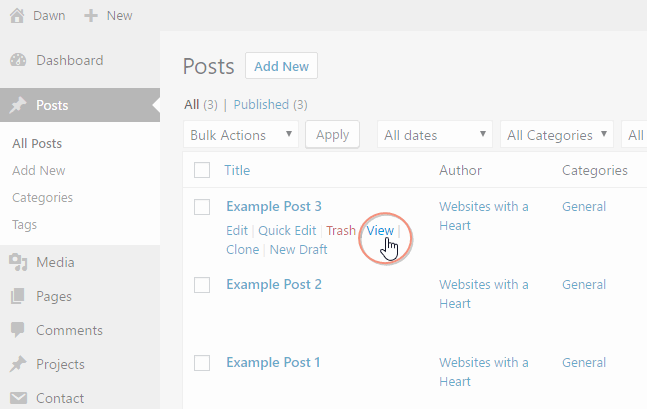
In the menu on the left, go to Posts > My posts. Notice all the posts there and also the options again to edit posts or view them:
Now click “View post” to go to the front end of your website again.
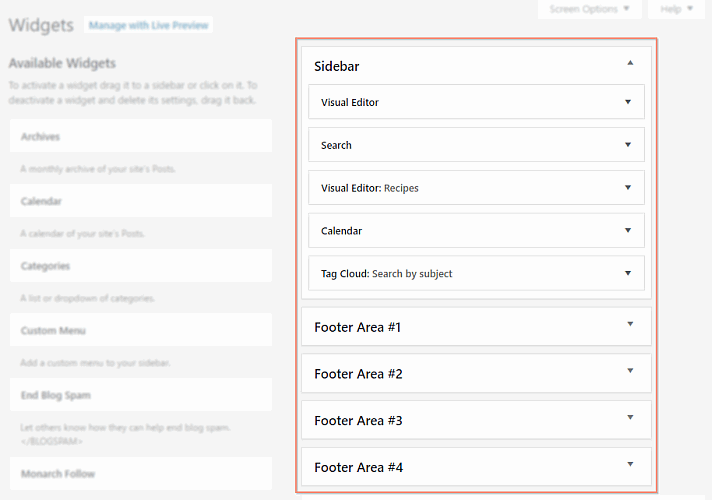
Notice the sidebar next to the blog post. Sidebars and footers are managed in the widget areas. Go to the top left in the admin bar and from the drop down choose Widgets.
Notice the Sidebar widgets, open the items by clicking the arrow on the right. Notice the 4 footer widget areas, 3 are filled with widgets and correspond with the 3 on your site.
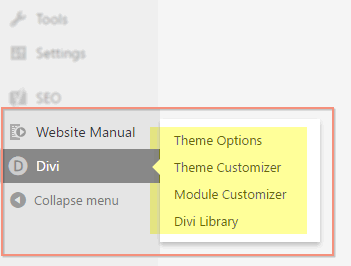
Now finally we’d like to show you where the Divi settings are. On the left, scroll down a bit, notice the menu item “Divi” and hover over it to see the Theme options, the Theme Customizer, and the Divi Library at the bottom. You can use these to make changes to the look of your site (but we’ll cover that separately).
That’s it, you’ve now had a grand tour of your website, and you should have some basic idea of what’s where and how it’s set up.
And don’t worry if you haven’t remembered everything :) In the classes of this course we show you again, this was just an overview to give you a feel for your site!
♥