Widget Idea Library
Class overview
Here you can see some examples of commonly used and handy widgets, and how you can create them.
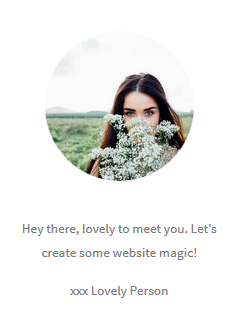
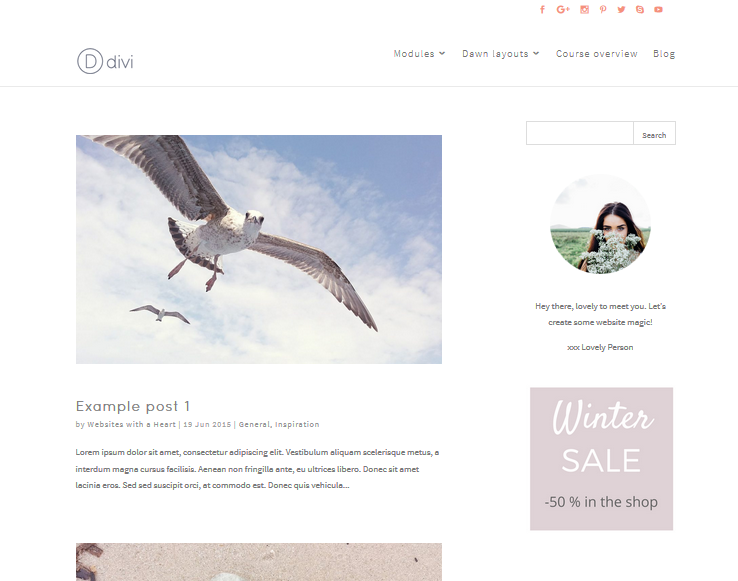
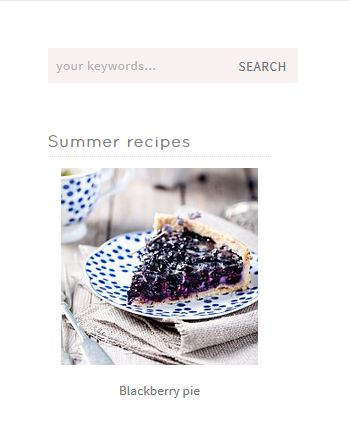
1. Author Widget
An author item can be very useful to create a personal connection with your website readers. You can use it next to your blog roll and blog posts. Or next to your contact form to encourage your website visitors to contact you, with a friendly message saying that you look forward to hearing from them.
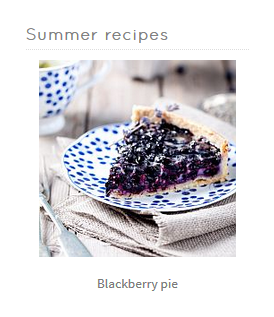
We’ve used a round image here, but you can also use a square image.
Open the toggle below to learn how to make your own!
Creating an Author Widget
To create this item, use a visual editor widget.
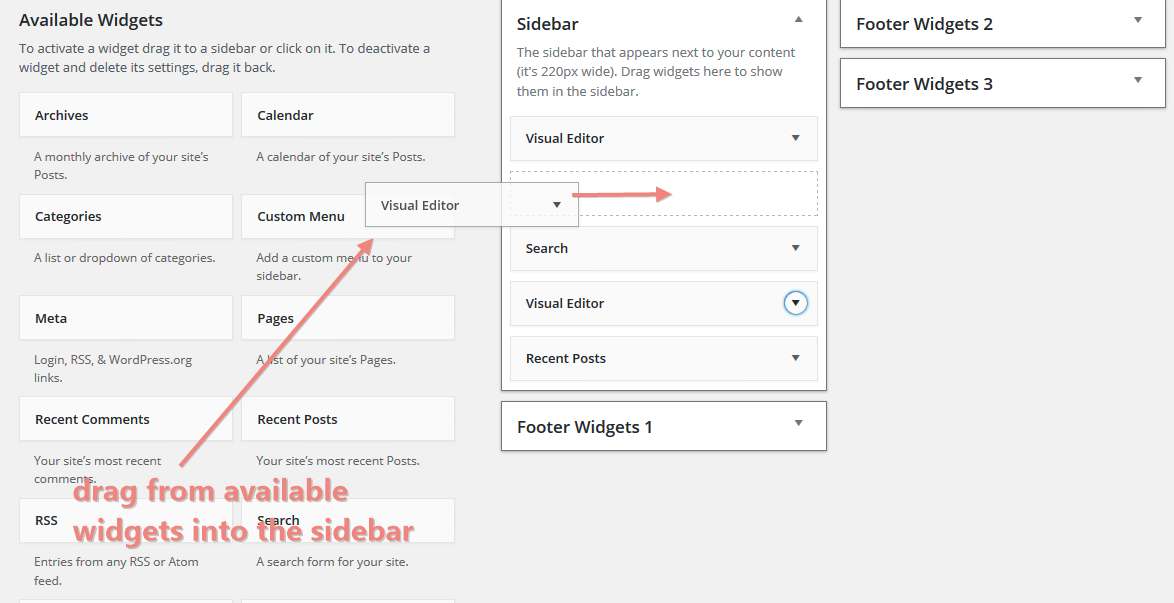
Drag the visual editor widget to your sidebar, or any of your other widget areas, where you’d like it to appear:
You’ll need to upload your photo to the media library. If you’d like to create a round or square image, make sure that your image has been cropped with square dimensions (if you don’t make your image exactly square it will become an oval when you make it into a round image).
We have used a 150 x 150 pixels image because we like it to be a bit smaller, but if you want it to fill the sidebar with, make your image 220 x 220 pixels.
Upload your image to the media library.
Open the widget by clicking the arrow in the top right:

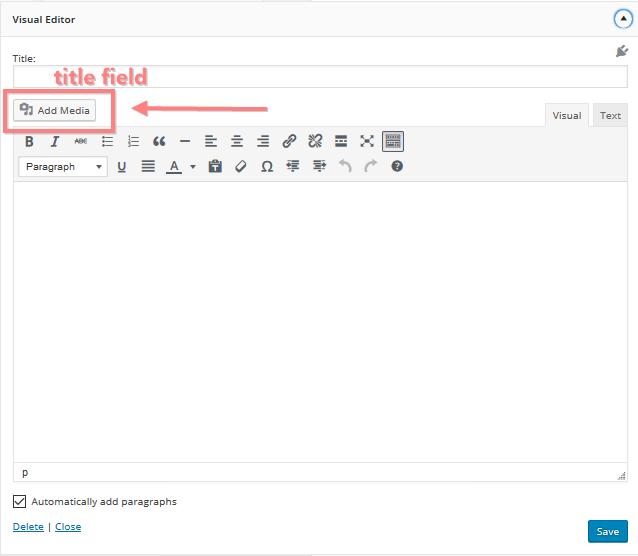
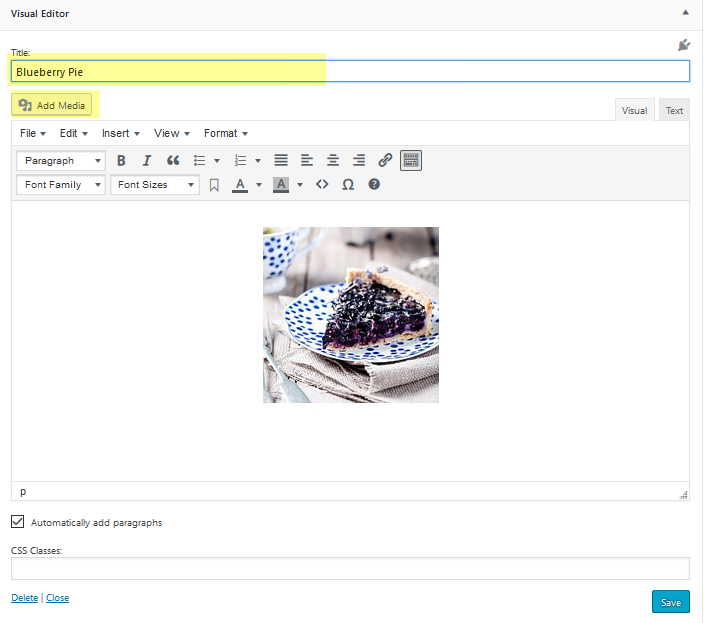
The visual editor opens. At the top there is a title field. For this author item, we have left this field blank which means that no title will be added above the item. We think it looks better that way in this case, but feel free to add a title for your own item :)
Start by adding your image through clicking on the “add media” button in the top left:
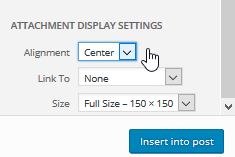
Select your image from the media library; set the attachment display settings; (in the bottom right of your screen – just above the save button) Set the alignment to “center”, link to “none” and for size, choose “full size – 150 x 150 px in our case. Then click “insert into post”:
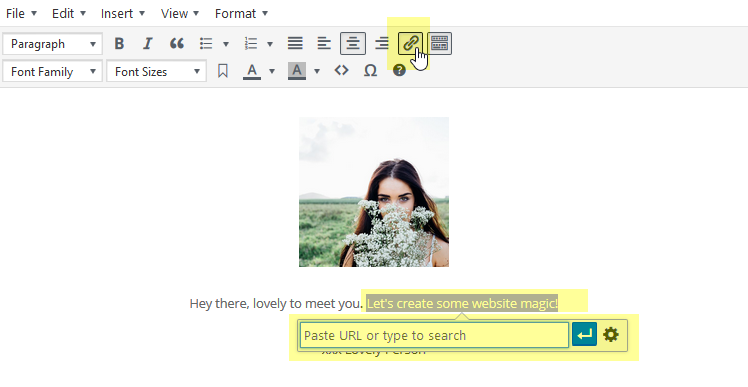
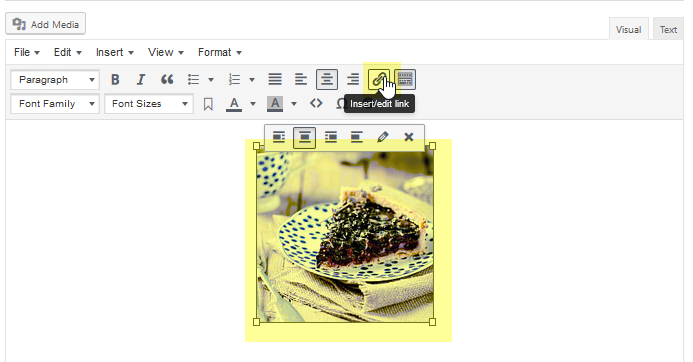
You can type your text below the image, we’ve centered ours, and you could add a link to it also by selecting the text that you’d like to make a link, and clicking on the link icon in the toolbar. Enter your link in the dialogue:
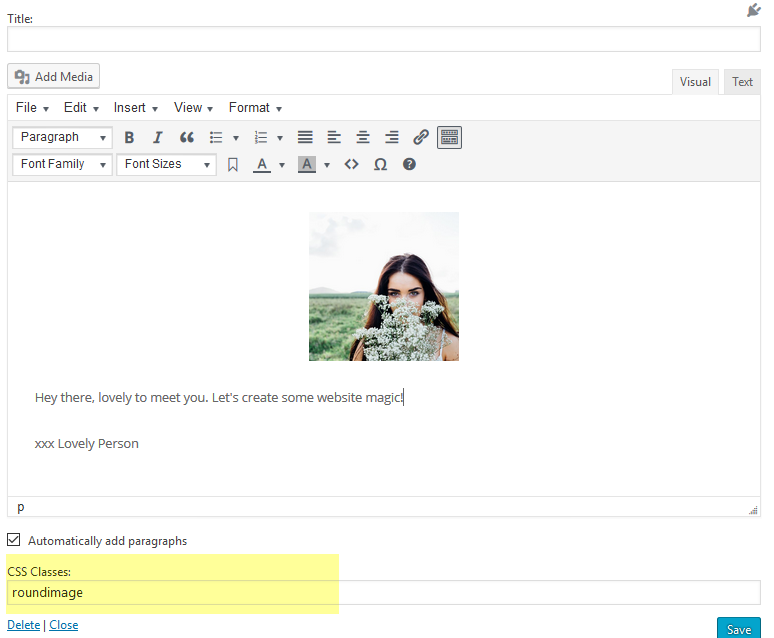
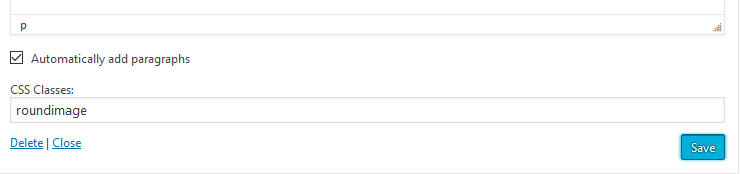
To make your image round, you have to enter a CSS class in the CSS class field. Scroll down to the bottom of the widget and type roundimage in the CSS class field (or tick the box roundimage, both have the same effect – the tick box is something new and not present in the image below) :
Remember to save by clicking the save button. Your Author widget is finished!

You can close the widget by clicking the arrow again in the right top corner of the widget.
2. Images, Adverts & Promotions with link
You can use images with a link as an advert for products or services, for a link to another part of your website, to promote some of your products and services next to your blog, to draw attention to a sale, etc. The possibilities are endless.
Open the toggle below to learn how to make your own!
Images, adverts & promotions with link
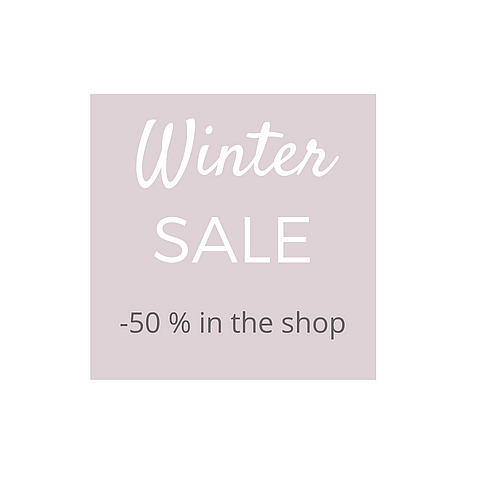
To create image links, you can use a photo with a text or title underneath, or you can use artwork that you have created using an application such as Canva, where you can combine images or shapes and text to create a ready item that you can upload as the image. The example Winter Sale item has been created in Canva. Canva is free, asy and intuitive to use, and there are very good tutorials. We highly recommend exploring Canva for creating graphics for your website!
Find out more about Canva here.
You can find the column sizes of your child Theme here – you can use these to determine image size in pixels to create.
Creating an image item
To create an image link, use a Visual Editor Widget – drag it to your sidebar or footer and open it by clicking the arrow in the right top corner.
Give your widget a title and click on Add Media and insert the image of your choice from your media library:
We’re now going to add a link to the image so that the image is clickable. This could be a link to another page on your website, such as a service or a product, a blog post. If you would sell advertising spaces on your site this could be a link to the advertisers site. Click your image and click on the link icon in the toolbar and insert your link:
Add some text underneath if you want – you can add a text link if you like by selecting the text and clicking the link icon again and inserting a hyperlink. We’ve also centered the text:
You could also make the image round by typing the CSS class roundimage in the CSS class field at the bottom of the Visual Editor:

If you’d only like to use the image, don’t add text, just an image link. You could also leave the Widget Title blank to only show the image and nothing else – this works especially well if you’ve used artwork with text:
If you feel your image is too big, this is a handy trick to make it smaller; in the Visual Editor widget click on the text editor tab:
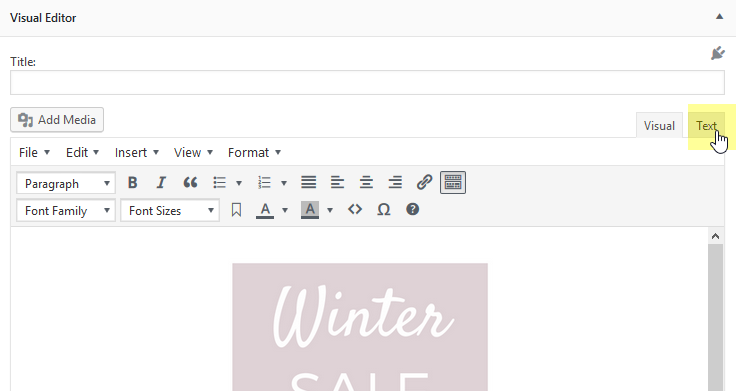
This is where your website code lives that’s behind all you do in visual editors :)
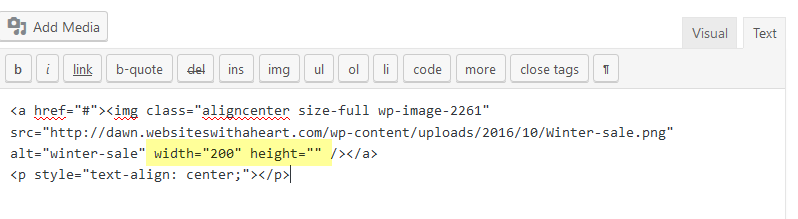
You’ll see the code that makes up the image. Find the width and height values:
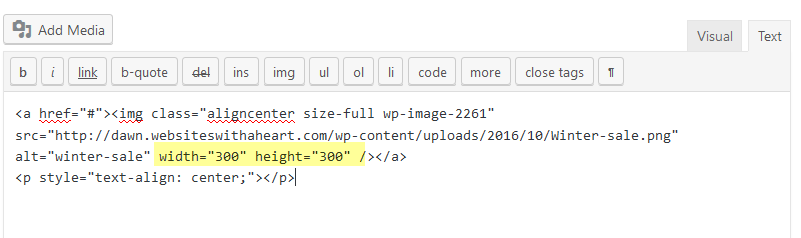
Remove the value for the height (it changes automatically along) and set your desired width and click save – the image is now smaller:
If you create many image link items like these, you will not be specifying a title for them probably, and you may end up with a lot of widgets in a row that show just “Visual Editor”. This can make it hard to find out what is what. A little trick to give these widgets an admin title is explained here.
Now you know all you need to know to create image links for your sidebar & footer areas!
Facebook Like Box: https://developers.facebook.com/docs/plugins/page-plugin
Twitter embedding: https://publish.twitter.com
Instagram: https://lightwidget.com
Pinterest: https://developers.pinterest.com/tools/widget-builder/
4. Blog related widgets
There are a number of widgets related to blogging that you can add to your sidebars and footers.
In the toggle below we’ll show you what they are and what they look like.
Widgets related to blogging
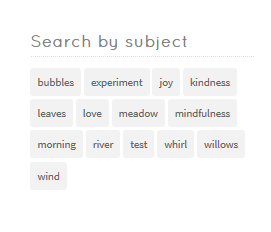
Tags
Showing all the tags that you’ve used for your blog posts, so that your readers can click on subjects they are interested in and see a list of all the posts with that tag.
You can set a title and in the drop down taxonomy field of the widget you can also choose to display categories, or project categories, among other things.

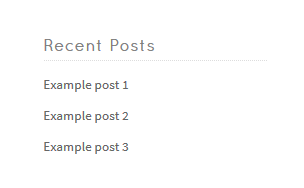
Recent Posts
Shows a list of recent posts, you can set how many posts to display.
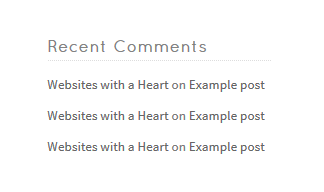
Recent comments
Shows the most recent comments on your blog posts, you can set how many comments to display.
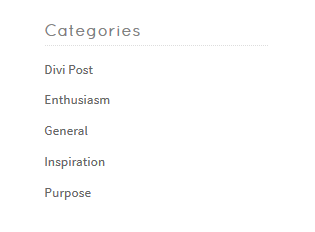
Categories
Shows all your blog post categories.
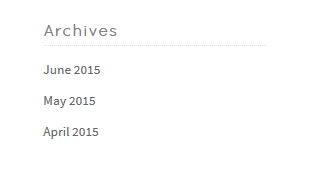
Archives
Shows your blog posts on a month by month basis.
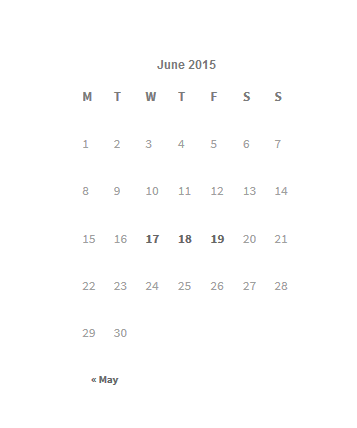
Calender
Showing the dates that you posted blog posts.
5. Various other widgets
Two other general widgets that you can add to your sidebar; Search , Pages and Custom menu’s. With the Custom Menu widget you can add easily add a sidebar or footer menu.
Open the toggle below to learn how to use these widgets.
Various other Widgets
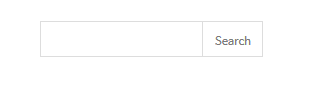
Search
The search widget that you can insert here is not styled the same way as the rest of the theme:

If you’d like to insert a Theme styled search widget, you can, but only if you’re using a Divi sidebar in a specialty section. In a WordPress sidebar you can only use the default search widget.
On the section where you are inserting a sidebar, add a Dawn Search module, and move it to the top, with the sidebar module underneath:

and then you have the Dawn Search module at the top of your sidebar:
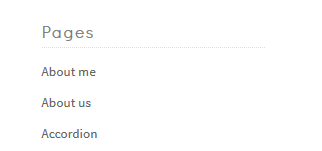
Pages
The pages widget shows an overview of your website’s pages.

Custom Menu
With this handy widget you can insert a menu in your footer or sidebar.
You’ll need to create your menu first in Appearance > menus as explained in the Your Menus class.
Add the widget and then specify which menu to display from the drop down.
6. Monarch Social Follow widget
In this video we’ll show you how to set up your Monarch Social Follow widget.
The colour picker tutorial we mention in this video is in the ” Logo & Branding ” class.
You can also show your Theme Social Follow Module as the first item above your sidebar.
To do this, place the social follow module above the sidebar module when creating your speciality section.
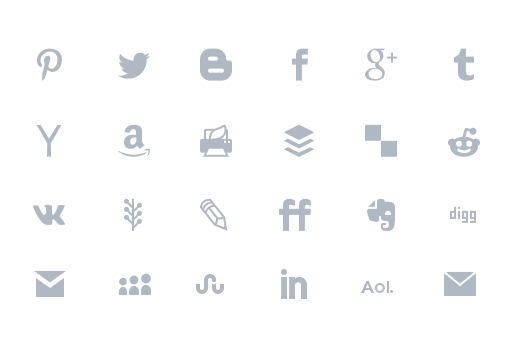
3. Social Media Feeds & Like Boxes
Social media networks often offer special code so you can show your feed or a like box next to your content, in your sidebar or footer. Think of a Facebook like box or an Instagram feed.
Watch the video below to learn how to add a social media feed as a widget. The video discusses four networks: Facebook, Pinterest, Instagram & Twitter.
If you’d only like to use a few of the networks, you can jump to the section of the video that is relevant to you:
Facebook 2:02 – Twitter 4:38 – Instagram 7:13 – Pinterest 8:35
Please note: Lightwidget, that we use to embed Instagram, now requires you to buy a one off, lifetime license for a fee of $10 if your website has an SSL (security) certificate (the padlock next to your URL at the top of your browser). You can buy the license here (you’ll only need to pay the fee once): https://lightwidget.com/upgrade-widget