The Basics of WordPress
Class overview
In this class we’ll explain the basics of working in WordPress:

1. Creating & managing pages
You’ll be creating most of your content with the Divi Builder, but before you can get started with that, you’ll first need to create a page, and that’s what you do in WordPress. In the video below we show you how you can manage and create pages.
We will cover just the very basics, because creating your actual page content will be explained in the classes The Divi Builder, and Creating Content, a bit later in the course.
Creating and managing posts will be covered in the class ” Blogging“.
2. The Media Library
The Media Library is where all your images and documents get stored. So mostly photos and graphics in JPEG or PNG format, but also PDFs, Word documents, Excel sheets, and anything else you’d like to show on your site or make available as downloads to your visitors.
Important: Photos from your phone or camera, and also photos you download from stock sites, are usually very big. If you upload these to your site as they are your pages will load slowly, and your visitors won’t have a good experience on your site. To prevent this, always make sure you resize and optimise your images before you upload them to your site. To learn how to do this see the class on working with images.
Really: Some things are good to say twice and this is one of them. Massive images are the number one reason we see of webpages loading slowly… So…
Do make your images smaller before you upload them.
Here’s what happens when you do:
- Your visitors will thank you for it – everybody loves fast websites
- Google will reward you for it – search engines rank faster sites higher
- Your site will be easier to manage – smaller backups, easier to work on your pages
To see the difference, try loading these two examples. You’ll notice the difference especially well on a slower connection like on your phone without wifi: unoptimised image versus optimised image.
Working with PDFs or other files on your website
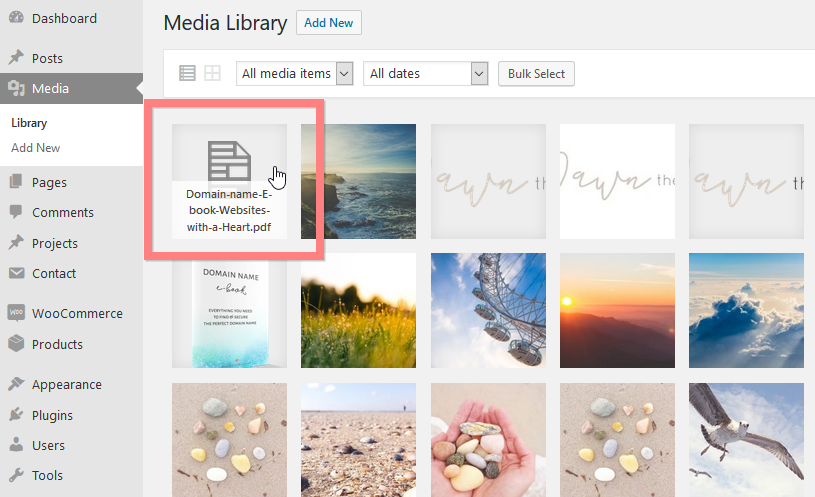
We showed you in this video how to add other files like PDFs to your media library. You can make these files available for download by creating a text link , or by connecting them to a button. To do this you need to use the link to the PDF file in the media library.
Go to the file in the library and click it:
The file link is in the top right URL field:
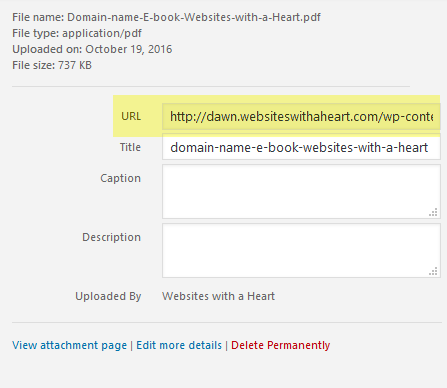
Copy the complete link by clicking on the field and choosing Ctrl + A for select all followed by Ctrl + C to copy the link.
Now you can use this link just like you would a normal link, so you can use it to create a text link or for a button to create a download link.
Using video or audio on your website
You can upload video or audio files to your website’s media library, but in most cases it’s better not to.
We recommend you use an external video or audio hosting service, because video and audio files are very heavy resources and so it’s better for your website if you store them somewhere else.
For videos you can use a service such as Youtube or Vimeo, and for audio Soundcloud is a good choice.
Once you have your files on there, you can then easily ’embed’ them in your website.
See the Video & audio class for more info.